If you need to showcase your web application to a client, team, or audience but don’t want the hassle of deploying it to a live server, this guide is for you. It will show you how to quickly view your localhost code running live on your mobile device using Visual Studio Code. By forwarding the port of your local development server, you can instantly access your web app on your mobile browser without any complicated setup or deployment process. This method makes it easier to present real-time changes on mobile devices, ensuring a smooth and seamless presentation.
What Is Port Forwarding?
Port forwarding in VS Code is a feature that allows you to make a port from a local or remote machine accessible externally. Essentially, it forwards a specific port from your development environment to a publicly accessible address, allowing you to access services or applications running on that port from other devices or networks.
Start Port Forwarding
Before forwarding port, you must start your local server so that the application starts running and you will know from which port to forward to.(http://localhost:{port}/)
1. Automatically Forward Ports:
- Some applications (like web servers) are detected by VS Code automatically. When this happens, VS Code will display a notification offering to forward the port.
- Click Forward to forward the port.

2. Manually Forward Ports:
- Go to the menu bar and select View > Ports.
- Alternatively, press Ctrl+Shift+P and search for "Ports: Focus on Ports View."
- In the Ports view, click the ➕ Forward a Port button.
- Enter the port number you want to forward (e.g., 3000).

3. Additional Step:
- It will ask you to login the github on your browser, if you haven't already
- After logging in retry forwarding and it will start forwarding.

4. Access the Forwarded Port:
- Once forwarded, you can access the application or service on the Forwarded address provided in your port.
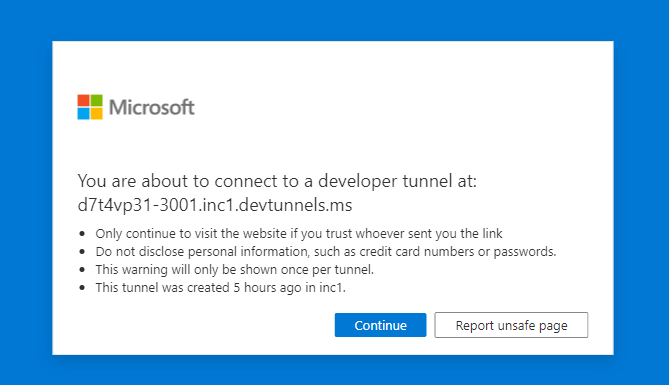
- After you go on the Forwarded address it will show a pop up given below. Just click Continue and now you can access this wherever you want

Public/Private Access
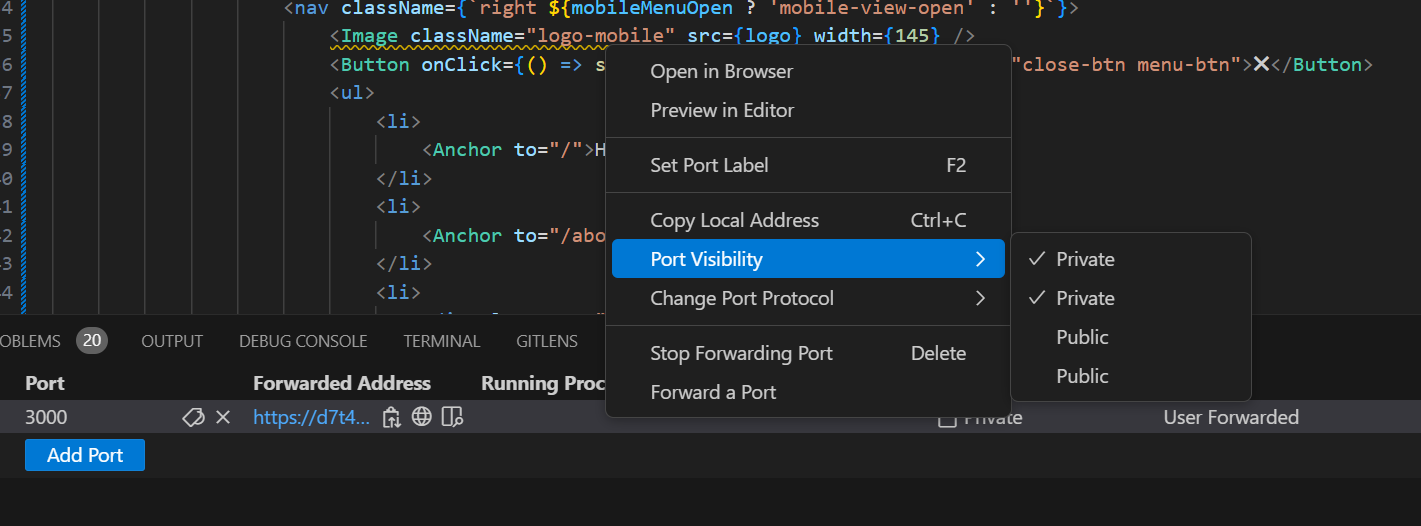
There are also two access levels through which you can forward a port, one is public access and the default is private access. To change access go to the ports section and right click on the running port and then click port visibility and then you can select public and private access.
- Public Access:When given public access anyone with the url can access the application but remember if your application contains sensitive information, try not to use it.
- Private Access:In Private access when you open the url, you will be asked to log in to the github account through which you have connected to and then you will be able to access it.

Managing Forwarded Ports
- View Forwarded PortsOpen the Ports view to see a list of all forwarded ports. Each entry shows the remote port, local port, and the application name
- Stop Port ForwardingIn the Ports view, click the ✕ (close) button next to a forwarded port to stop forwarding it.
- Edit Forwarded PortsIf you need to change the local port, right-click on a forwarded port in the Ports view and select Change Local Port.
How are forwarded ports secured?
By default, both hosting and connecting to a tunnel requires authentication with the same GitHub or Microsoft account on each end. In both cases, VS Code makes outbound connections to a service hosted in Azure; no firewall changes are generally necessary, and VS Code doesn't set up any network listeners. However, if you've opened a Public port, any user with your link can access the forwarded service. You should be careful to avoid hosting any confidential information or insecure services over such ports.
You can learn more about the security of the underlying dev tunnels service in its documentation
